 This weekend I did my first actual wash & go. I’ve been hesitant about it for a very long time because I thought the shrinkage would be incredible. I also feared more single strand knots than usual. As the warmer weather approaches, I thought it wouldn’t be so bad to try.I had NO idea where to begin, so I checked out a bunch of YouTube videos by the people whose wash & go’s I love on Instagram (@MahoganyCurls @HealthyHairToToe @Te_am_o)
The biggest tips were to begin the process in the shower, do it while it’s wet and don’t manipulate it too much until it dries completely. I thought the products I used would play a big part in the outcome, so I wanted to choose them carefully. I noticed none of the Instagrammers/YouTubers highlighted products, it seemed to be more about the process.
As for me and my hair… I washed and deep conditioned my hair as usual. Herbal Essences Shampoo (any kind) and Camille Rose Naturals Coconut Water Penetrating Hair Treatment. These are my staples. I always wash my hair at the kitchen sink and that didn’t change. I rinsed out my deep conditioner at the kitchen sink as well. I then followed the process recommended, by beginning the styling process in the shower. I let the water run on my hair and made sure it was detangled in the position I wanted my wash and go to fall. I twisted it into a low bun while I showered, then just wrapped a towel around my whole head when I got out of the shower.
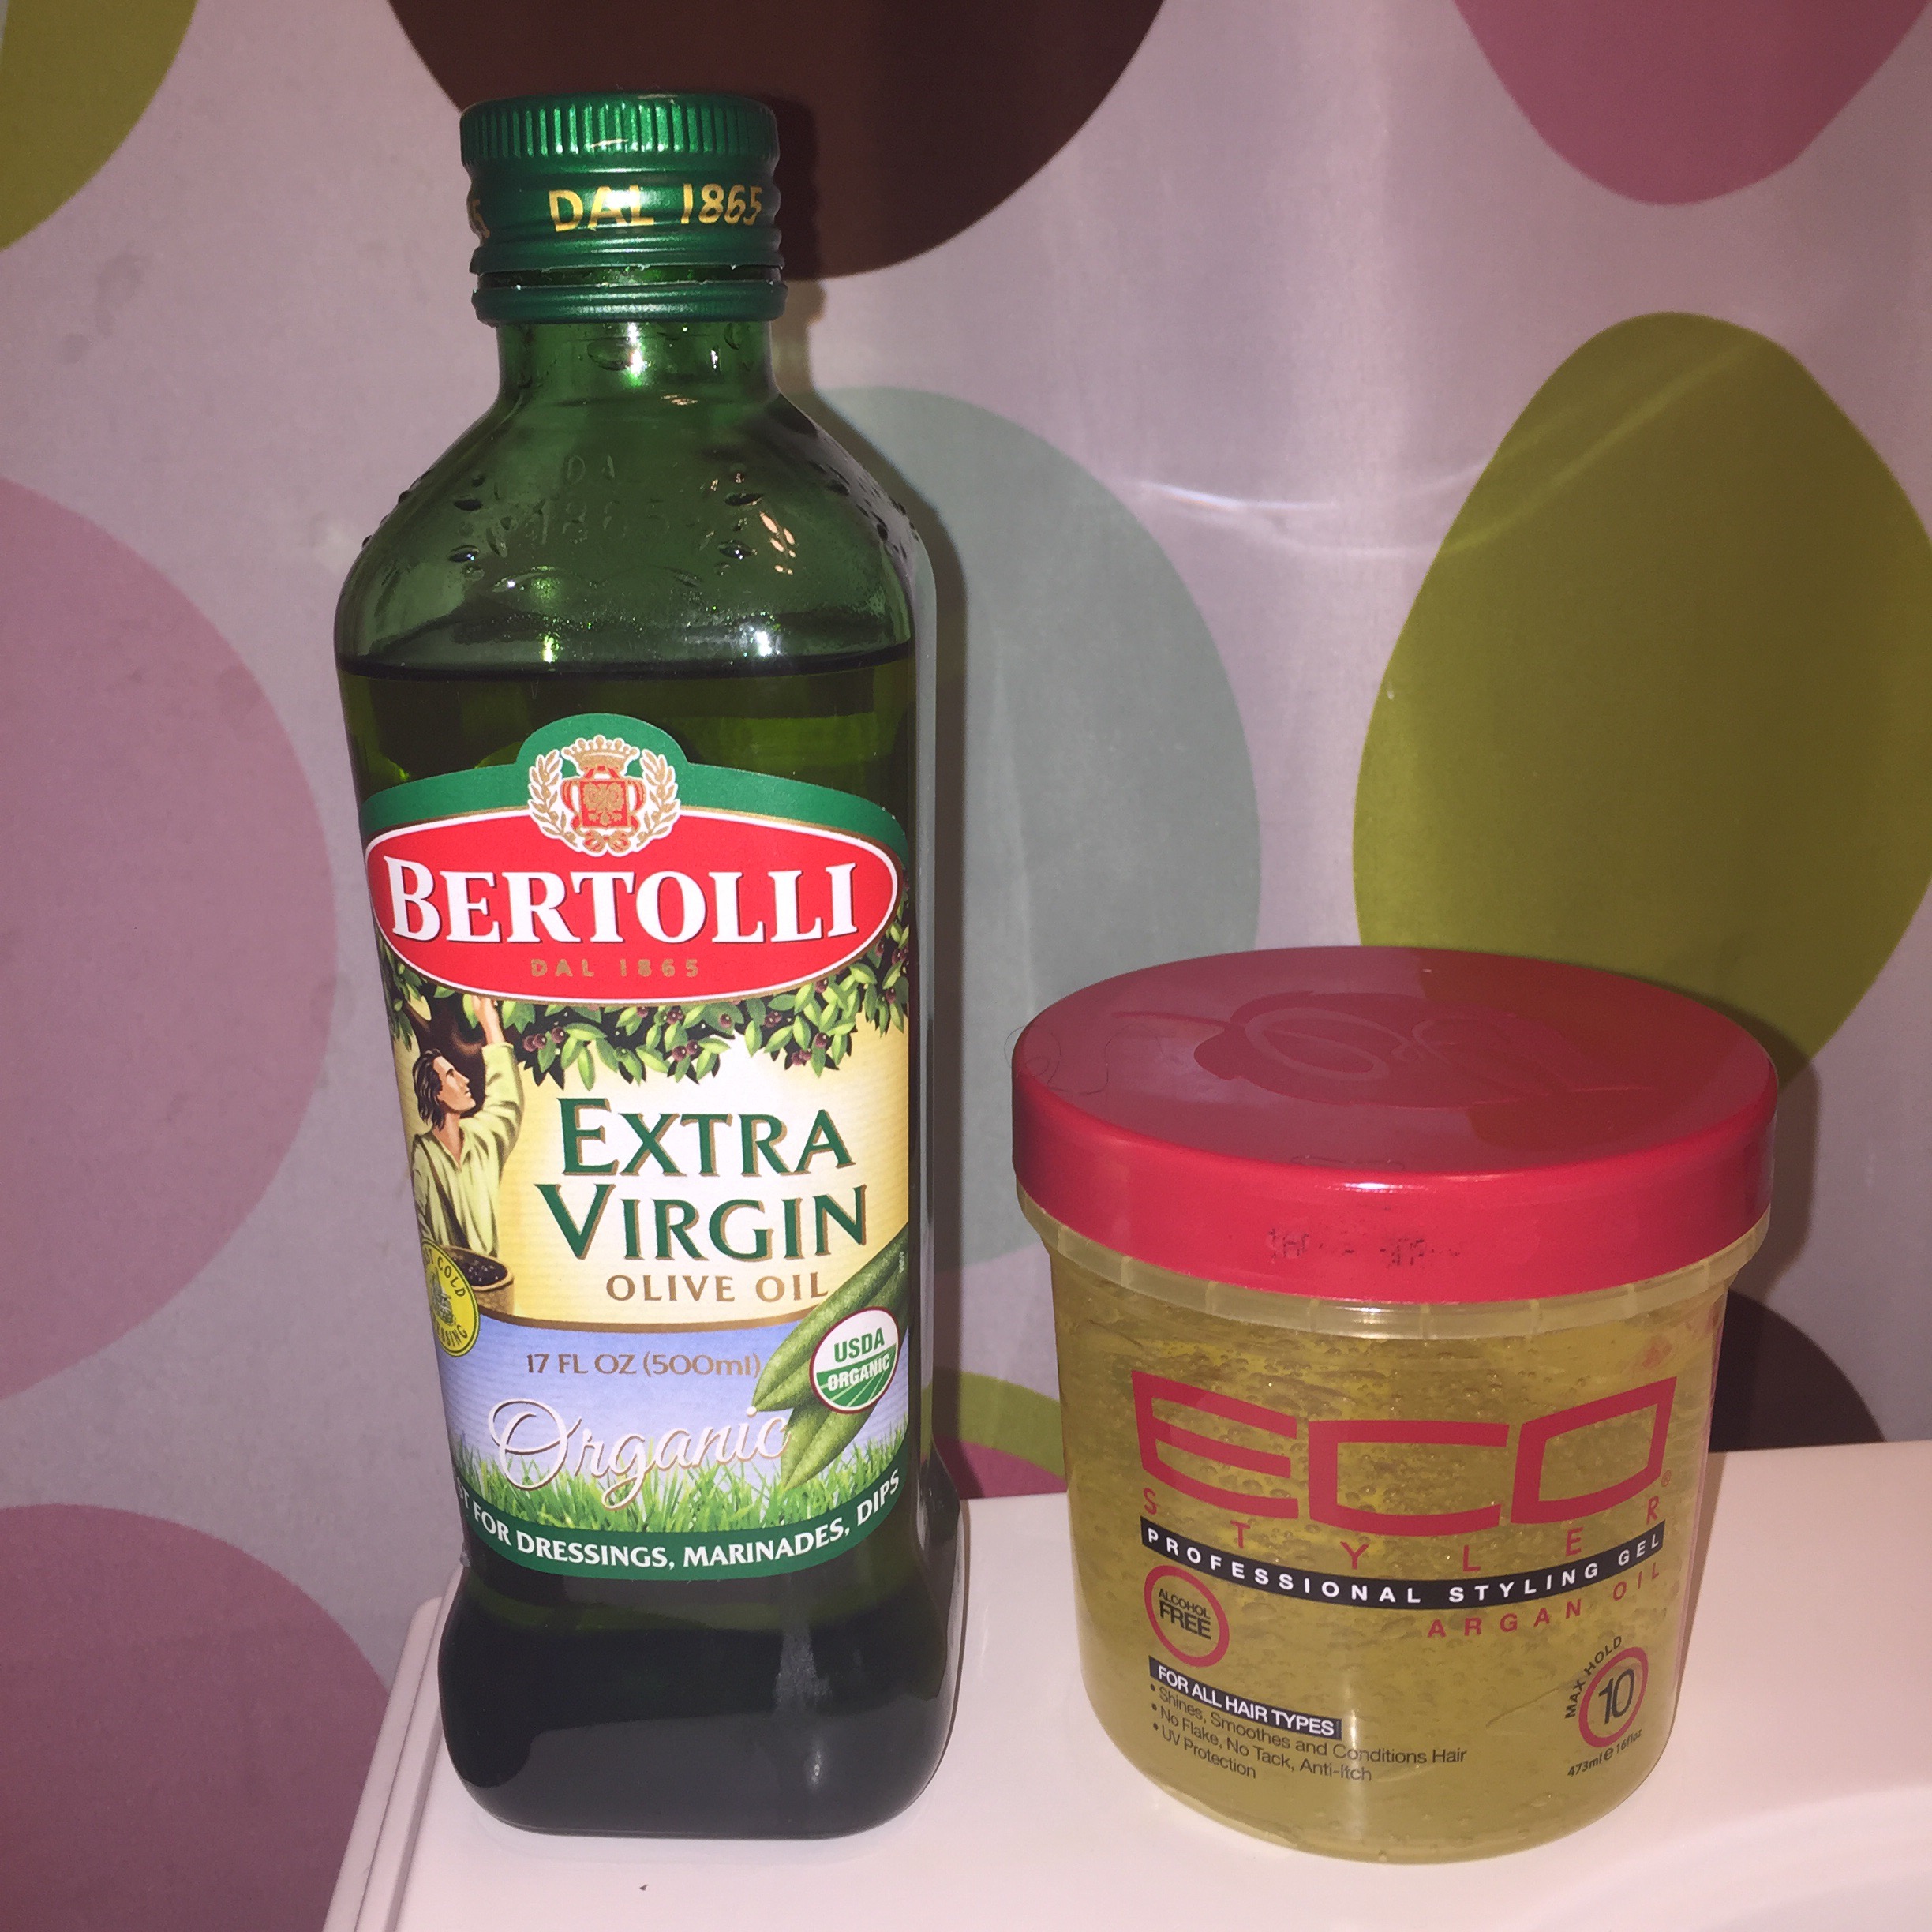
For styling, I let the curls fall as they may and just straightened my side part. I applied Extra Virgin Olive Oil to each section (4 loosely pinned up quadrants) because I swear by my “liquid gold.” The next and most important step was to separate smalls sections and apply EcoStyler gel (I used the Argan Oil one, but I’m sure any one would be fine) while smoothing it down the length of my hair ensuring that there was enough gel to prevent frizz and fly-aways. The process was very quick… maybe 15-20 minutes. I then let it air dry. It did take several hours to air dry, but it was never dripping wet.
I must say that I am VERY pleased with the results. My curls are defined. It actually didn’t shrink up as much as I anticipated. Of course the fact that one side of my hair curls more than the other was even more evident in its curly state. I’m currently on day 3 of my wash and go and it’s holding up extremely well. #Success
DAY 1

DAY 2
DAY 3


XOXO,
Rece
